2. Overview
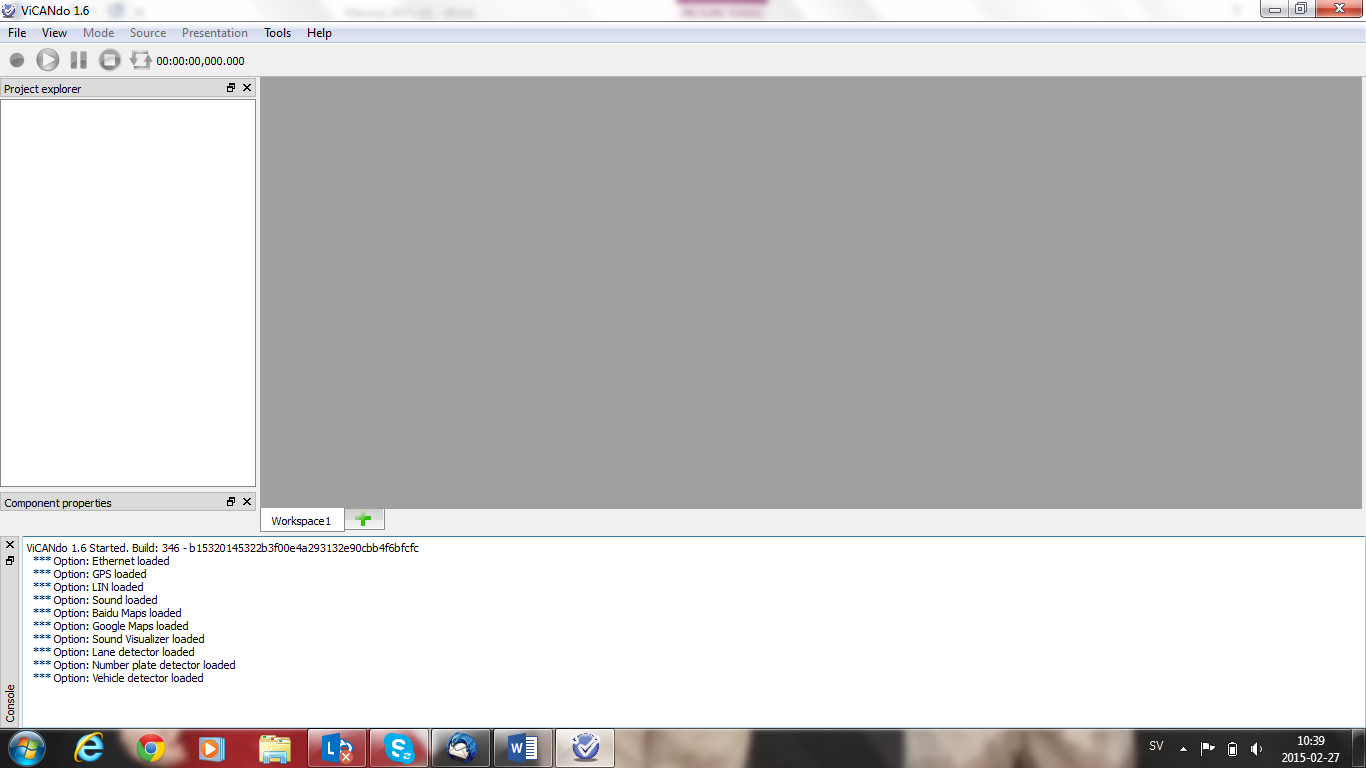
When you start ViCANdo for the first time, your screen will look similar to the one below. If you want to go through the options available for your license key, you will find them listed in the console window.
The project layout contains various components according to the control functionality.
For example:
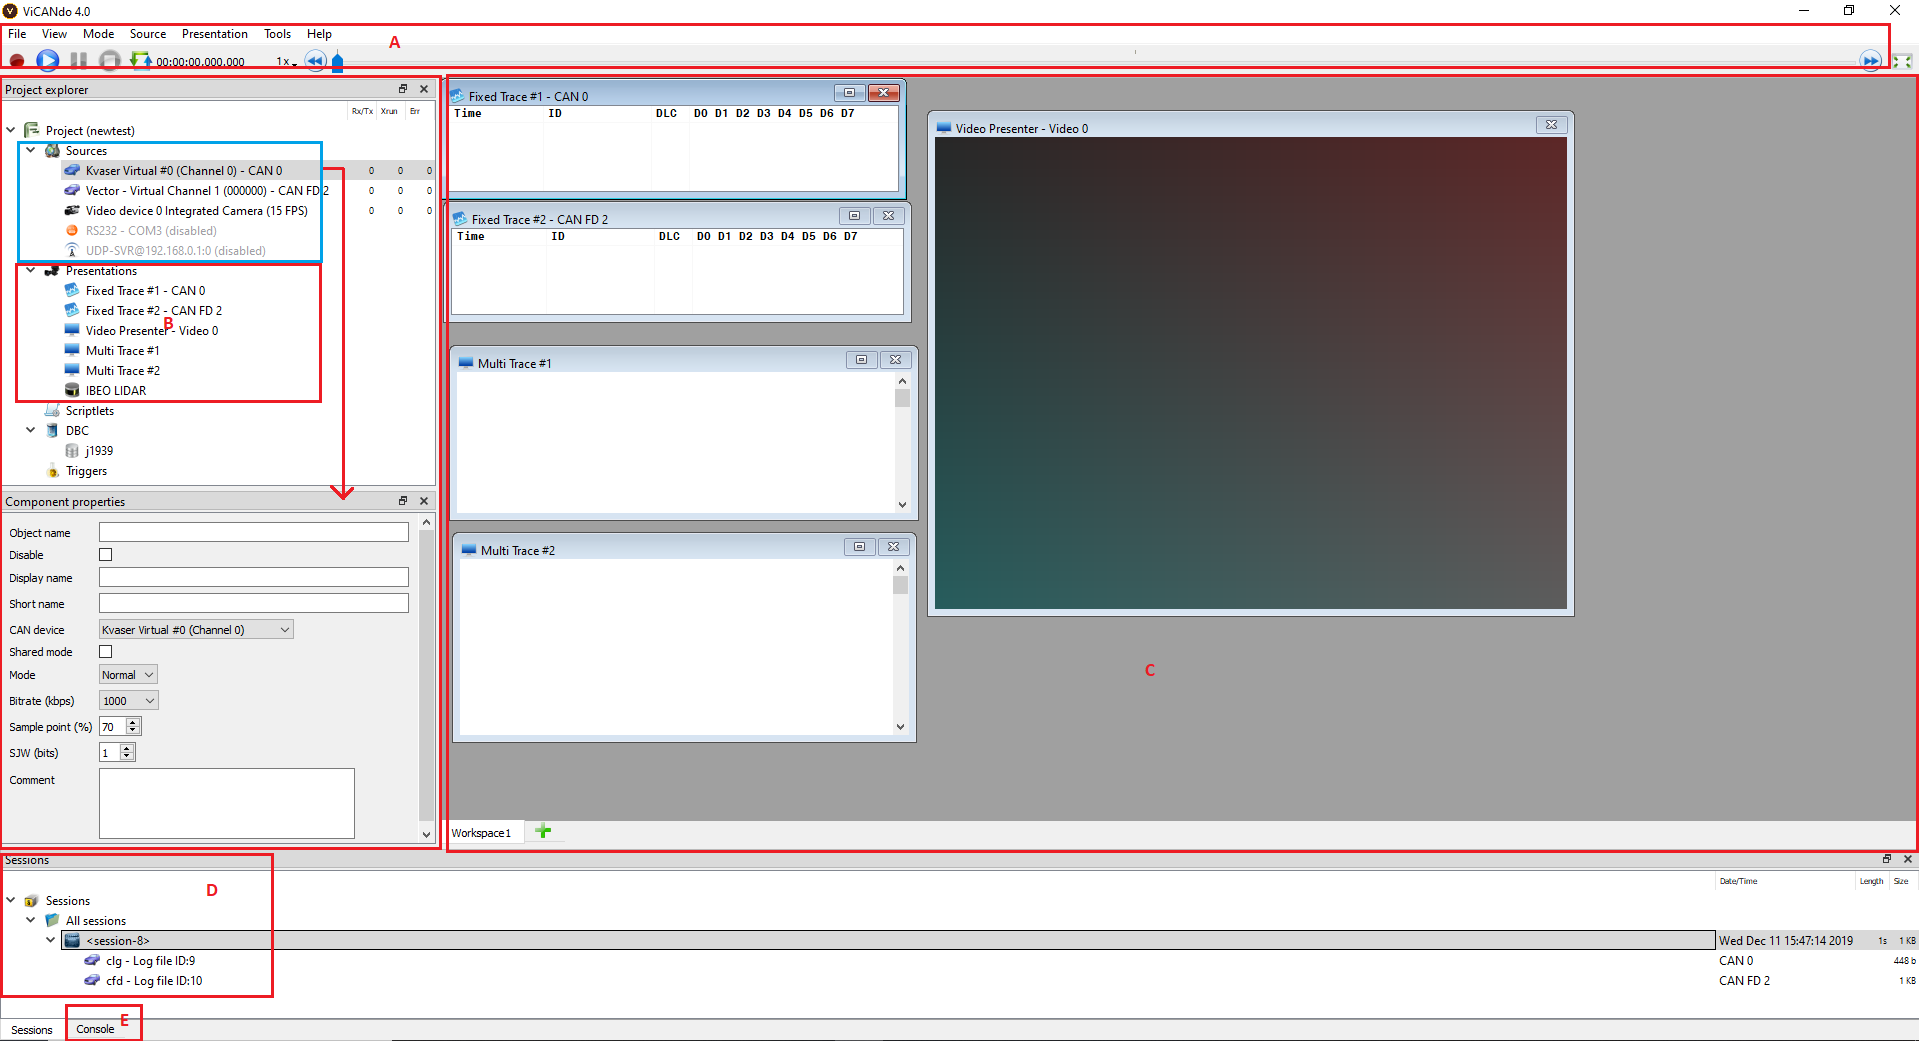
- Area A is the menu and logging control bar where you can start/stop/pause logging or playback the logged data.
- Area B is project explorer, which contains all the configured components for the project.
- Area C is the work place where you can display all the presenters to visualize the data from configured sources, such as CAN frames, lidar point cloud, video streams, etherent data.
- Area D displays the logged data and provide access to each log files inside the selected record.
- Area E is the console output where you can keep track of the actions, debug support and explanations to eventual errors.
Most of the control windows can be docked or floated.
2.1 Project explorer
The project explorer shows the configured componnets included for the project.
2.2 Sources
A source can be anything via which the application is able to acquire data. For example, a CAN channel or a video camera. After you add a source from Source menu, you can use its Component properties window to configure the source. After you have configured the source, you may want to add a window to visualize the data from that source. in ViCANdo it’s called a presenter or viewer under Presenter menu.
For example:
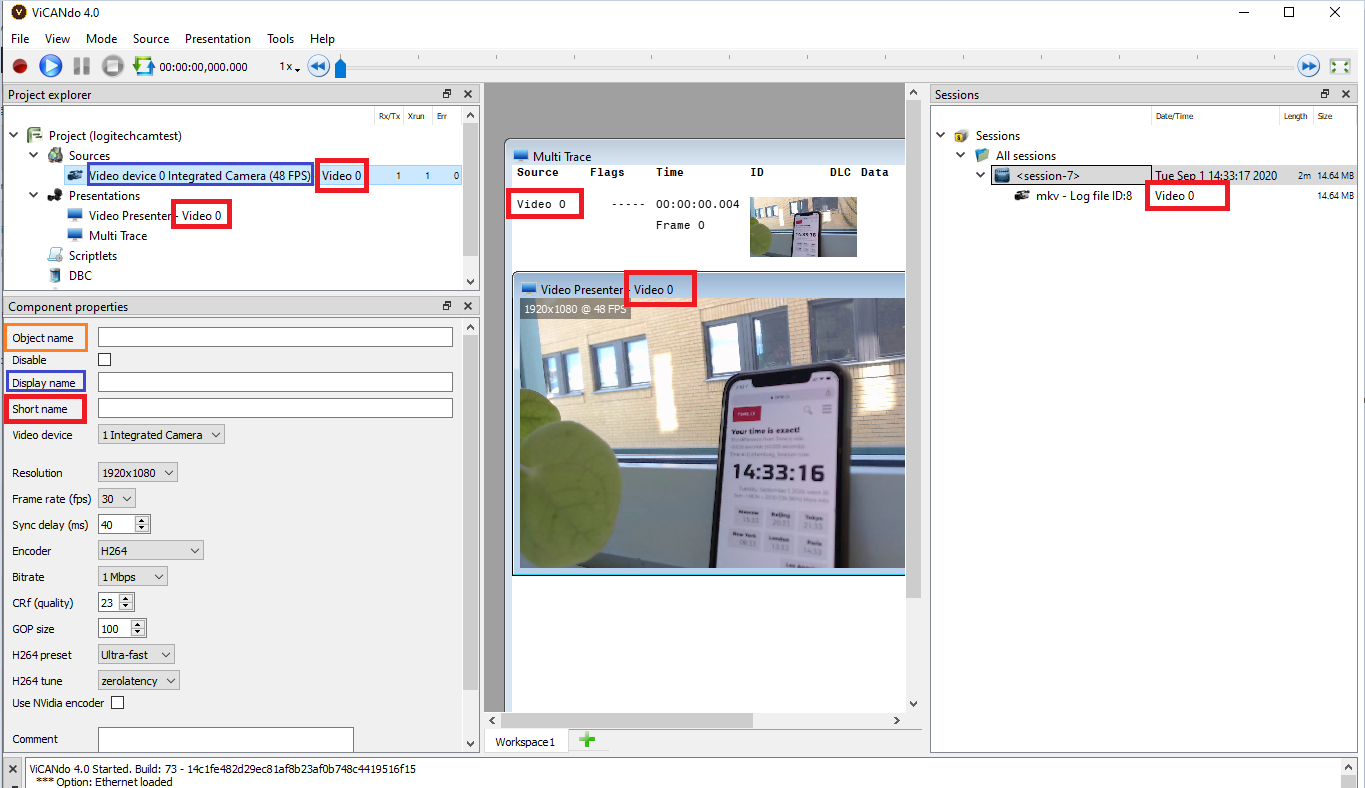
There are many names in the software.
- Object name: It is the name represent the object from QML API and SDK by using e.g. project.findObject(“can0”), where can0 should be written in the “Object name” field of the first CAN source.
- Display name: It is the display text of the source. If not specified, it will use the default name.
- Short name: It is a combination of uppercase letters or numbers, for example: VID0 to represent first video source. XXXA or XXYY. This name is used on other parts of the software to represent the source, e.g. the “Source” column of the Multi Trace, and the source column next to the log file under session tree view.
2.3 Presenters
A presenter displays the data acquired from the source. It can be specific to a source or compatible with various kinds of sources. For example a Video presenter can only present data from a Video source. It’s possible to setup multiple presenters connected to the same source.
Below table shows you the typical mapping between source and presenter:
| Source type | Presenter type |
|---|---|
| CAN source | Fixed Trace or Multi Trace |
| CAN FD source | Fixed Trace or Multi Trace |
| Ethernet device | Multi Trace |
| TCP socket | Multi Trace |
| UDP socket | Multi Trace and/or LiDAR presenter if data is from a lidar |
| FlexRay source | Fixed Trace or Multi Trace |
| LIN device | Fixed Trace or Multi Trace |
| Video stream | Video presentation or Multi Trace |
| Generic RS232 | Multi Trace |
| GPS | GPS compass or Multi Trace for GPS data. You can also display the route on Google/Baidu Maps |
2.4 Sessions
The session folder contains a list of recorded sessions. Here you can also import/export the log files. e.g. Export log files to other supported file formats. Or import standard log file made by other tools to ViCANdo. Right click on the session you will find the context menu that shows you what you can do with the selected session.
2.5 Console
On load it will display the license options you have. This is the place that will display any actions, events or errors, warnings at different state.
2.6 Creating a project
When the ViCANdo application is started for the first time it will show the New project dialog.
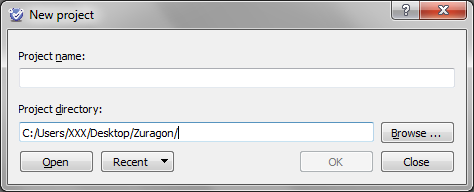
Once you enter the project name, ViCANdo will automatically suggest a project directory. The project directory path must be a non-existing directory that will be created in conjunction with the new project.
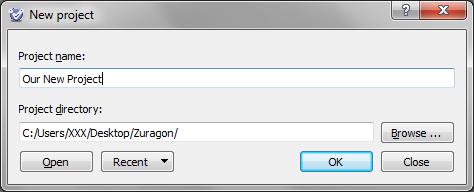
After creating the project the window looks like this.