Simple J1939 application demo
By using the Vicando and its SDK, it is possible to create your own application for either Windows, Linux or Android platforms. For each platform, you need the specific SDK for that platform.
This simple demo app will show you how to create your own customized Qt application based on a pre-configured Vicando project.
The folder demoapp included inside the SDK package is a simple Windows application which uses the ViCANdo SDK to display three J1939 signals.
The application needs a licensed Kvaser CAN interface to work with.
Tools needed
To create your own application, you need to have ViCANdo and Qt installed on your development PC. The compiler for Qt is also needed.
This demo application need below tools:
Microsoft Visual C++ compiler 15.x(can be fetched when downloading Visual Studio 2017)
Inno setup is used to make the installer for the app.
Note:
It is recommended to unzip the SDK package under a directory without spaces. For example: C:\ViCANdo-3.1-65
Create ViCANdo project
In ViCANdo, everything is an object, no matter it is a Source, a presentation or a DBC. There is an Object name property which can be set in its Component properties window. This name should have no space and it is accessed via QML API.
In ViCANdo SDK, user access each object via their Object name. So when you create the ViCANdo project, you need to set the Object name for each source you have added. e.g. set it to can0 for the first CAN channel/source you have added to the project.
For this demo application, we created a ViCANdo project includes a CAN source, a J1939 transport protocol, a DBC file and the Fixed Trace for each source. The Nickname of the Fixed Trace is also set to the same Object name. For example:
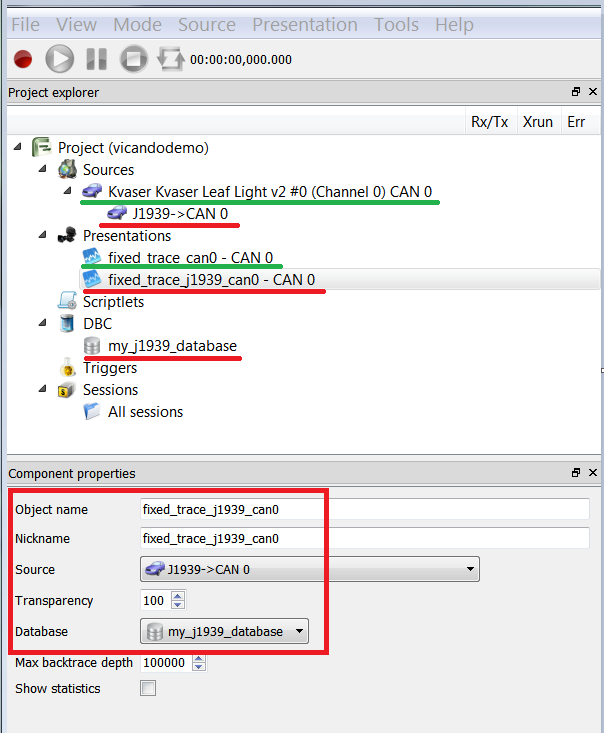
The Object name configuration for each source and presentation is:
Component added |
Object name |
|---|---|
CAN Source(assigned to Kvaser Leaf Light v2) |
can0 |
J1939 -> CAN 0 |
j1939_can0 |
my_j1939_database.dbc |
my_j1939_dbc |
Fixed Trace #1 |
fixed_trace_can0 |
Fixed Trace #2 |
fixed_trace_j1939_can0 |
The database file was attached to Fixed Trace #2, i.e. fixed_trace_j1939_can0. This allows you to use the J1939 protocol via ViCANdo SDK. You can then access all the messages and signals of your DBC file via SDK.
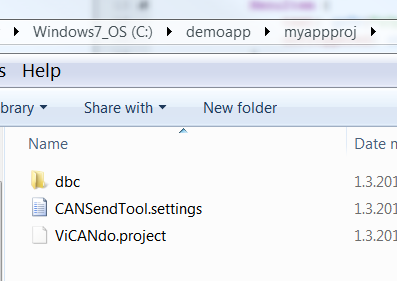
Save the ViCANdo project. Go to the folder of the ViCANdo project, you will find:
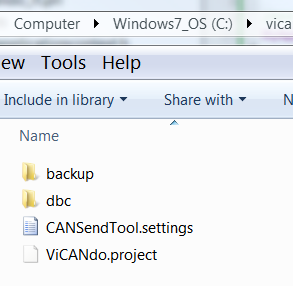
The ViCANdo.project, CANSendTool.settings and dbc folder(contains the DBC file) will be needed when later create your own Qt application.
Setup J1939 application demo
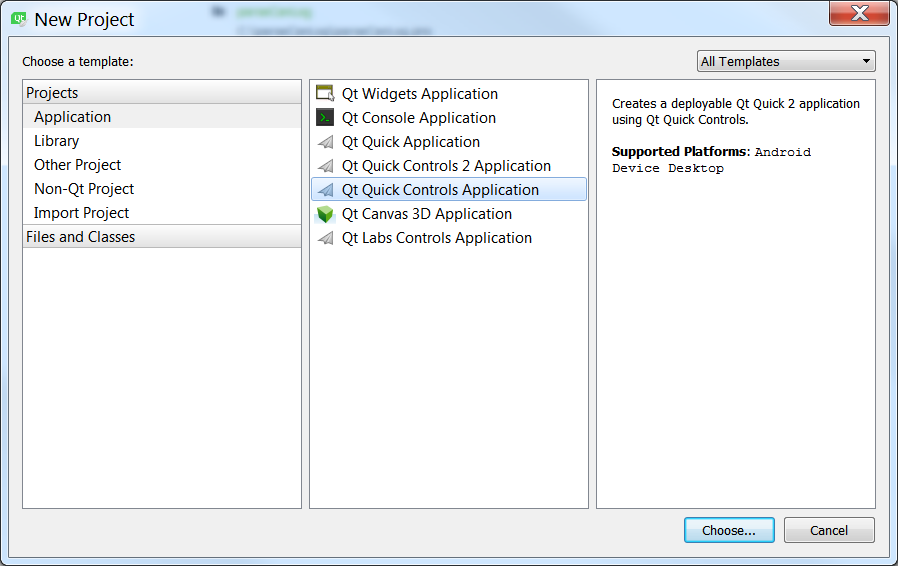
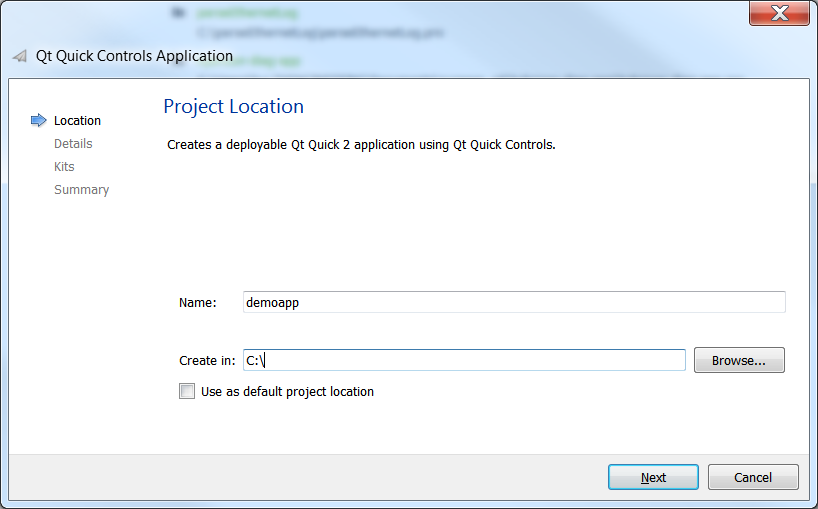
After you have installed Qt and the Visual C++ compiler. Now let’s create a Qt Quick Controls Application:
Next:
Next is to select the Qt version you are using. Then select the MSVC2017, 64bit built kit for your project.
Now the project is created:

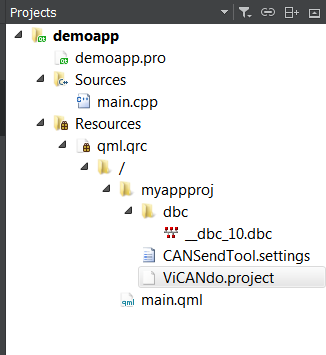
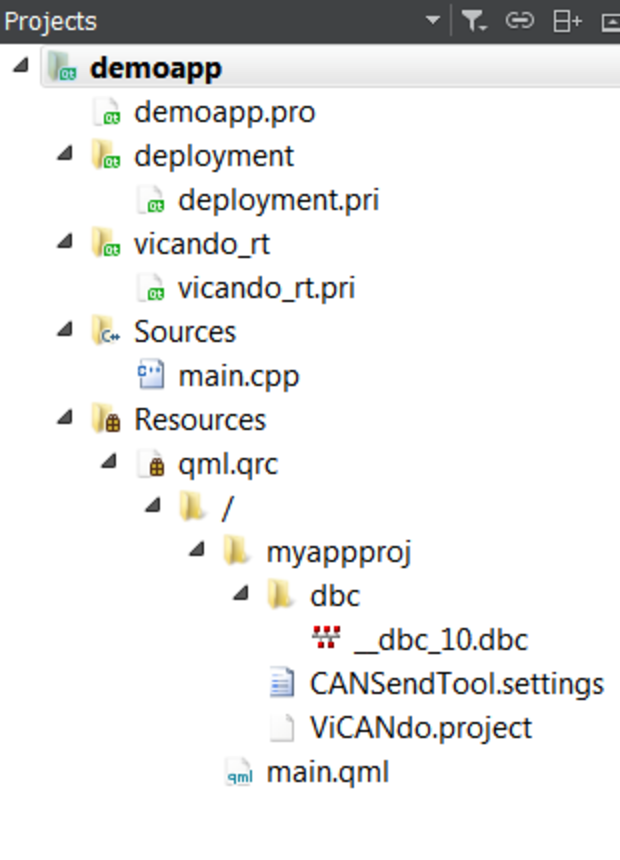
Create a folder, e.g. myappproj in your Qt application directory, and then paste the ViCANdo.project, CANSendTool.settings and dbc folder(contains the DBC file) to myappproj folder. e.g.
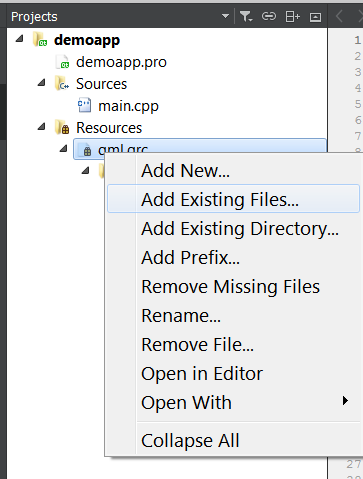
Then in your Qt application, click on qml.qrc and select Add Existing Files… to add these three files to your project.
Then open your .pro file in Qt and paste below code:
### Default rules for deployment, paste this file to your project directory and paste this line to your .pro file
include(deployment.pri)

### ViCANdo runtime, paste this file to your project directory and paste this line to your .pro file
include(vicando_rt.pri)
Next copy and paste below files to your Qt project directory:
deployment.pri
vicando_rt.pri
copy_vicando_plugins.bat(if you are using Windows)
copy_vicando_plugins.sh (if you are using Linux)
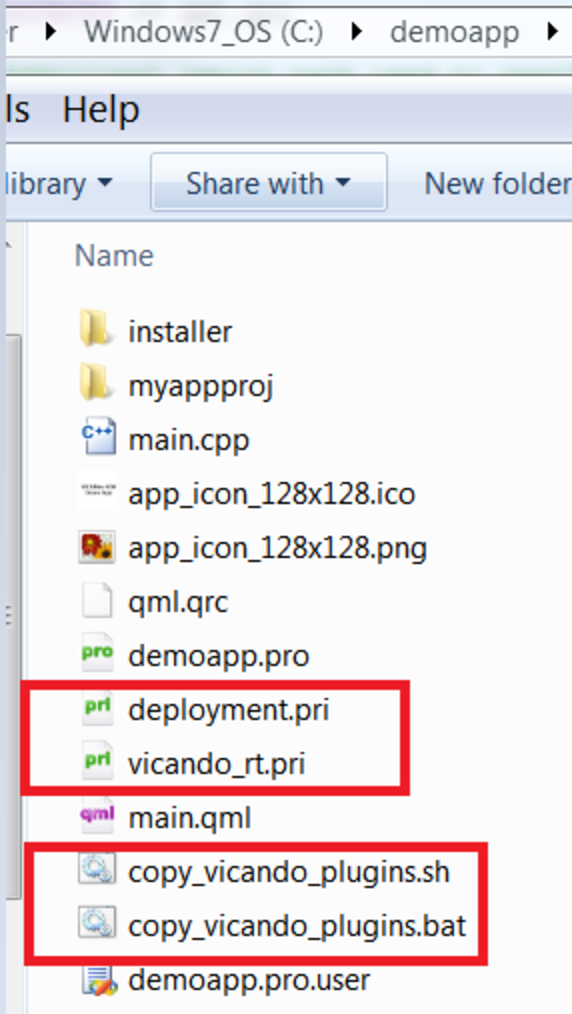
Close your Qt project and re open it. You will find the .pri files are included inside the project tree.
Next is to configure the deployment of your application and how to include the nessisory ViCANdo SDK libraries(ViCANdo run time) to your Qt application by editing deployment.pri and vicando_rt.pri. Follow the comments inside the file and configure it.
Now you are ready to develop your own QML application. Refer to the demo app to see how it is done. Refer to our QML API for more information.
The installer of the demo app was created using Inno Setup . Refer to the Inno Setup script inside demoapp\installer folder to find out which files are needed when making your own application executable file.